Appearance
Option Groups
Module: Option Groups Where to find it: Inside a site → site menu (the apps grid icon) → Option Groups, or via the site dashboard shortcut. Scope: Per site and per environment — pick the environment at the top of the list before working. Who should read this: Administrators who prepare reusable choice lists for use in Forms.
1. Overview
An Option Group is a reusable list of choices — pairs of a Label (what the user sees) and a Value (what gets submitted/stored). You build option groups here and then reuse them inside Forms (to populate dropdowns, radio buttons, checkboxes, etc.), instead of re‑typing the same lists on every form.
An option group can be filled from one of four sources:
| Source | What it does |
|---|---|
| Manual | You type the options by hand, row by row (label + value). |
| Excel Import | Upload an .xlsx / .xls / .csv file and map two of its columns to label and value. |
| API (snapshot) | Fetch options from an API once, hand‑pick which ones to keep, and store that snapshot. |
| API (live) | Point at an API and fetch options at runtime every time the field is shown — nothing is stored. |
2. Prerequisites
Option Groups use the options privilege group:
| Action | Privilege |
|---|---|
| View option groups | Can View Option Groups (CVOG) |
| Add | Can Add Option Groups (CAOG) |
| Edit | Can Edit Option Groups (CEOG) |
| Delete | Can Delete Option Groups (CDOG) |
3. The Option Groups list
Open Option Groups. Choose the environment at the top, then use the Available / Deleted tabs, the search box, and Create Option Group.
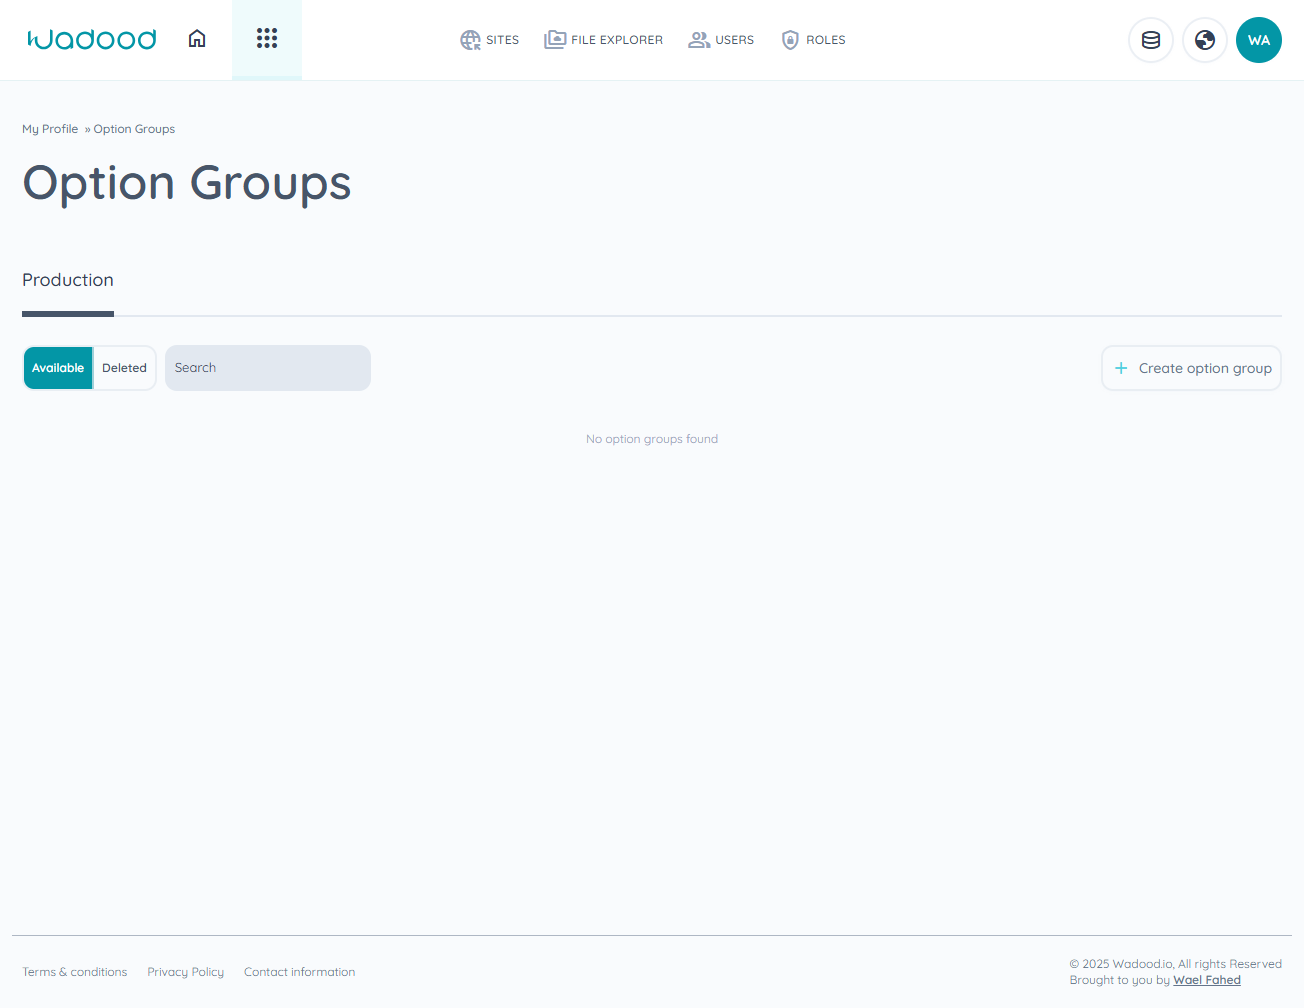
The table shows each group's name, total options, source type, and status, with edit/delete actions.
4. Creating an option group
Click Create Option Group. The form has two parts: Basic Info and Options Source.
4.1 Basic Info
| Field | Notes |
|---|---|
| Option group name | Required (e.g. "Gender", "Countries"). |
| Source type | Manual / Excel Import / API (snapshot) / API (live). |
| Status | Active or Inactive. |
4.2 Manual
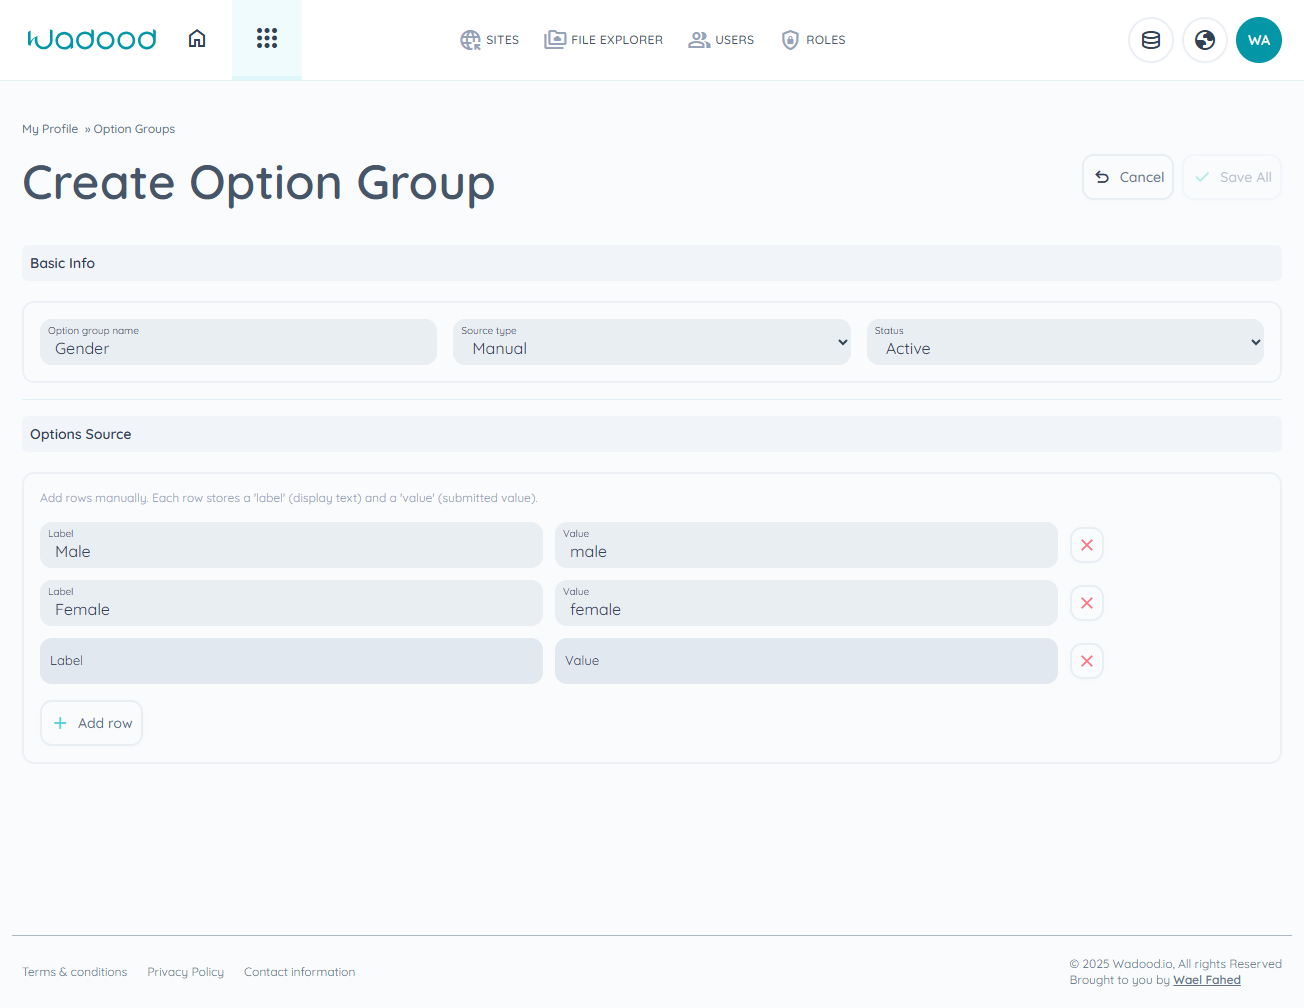
Add a row for each option, filling Label (display text) and Value (submitted value). Use Add row to add more and the red × to remove one. Example: Male → male, Female → female.
4.3 Excel Import
Drag an Excel/CSV file onto the dropzone (or click to browse). Once parsed, the file's columns appear in the mapping & preview area (below) where you choose which column is the label and which is the value.
4.4 API (snapshot) and API (live)
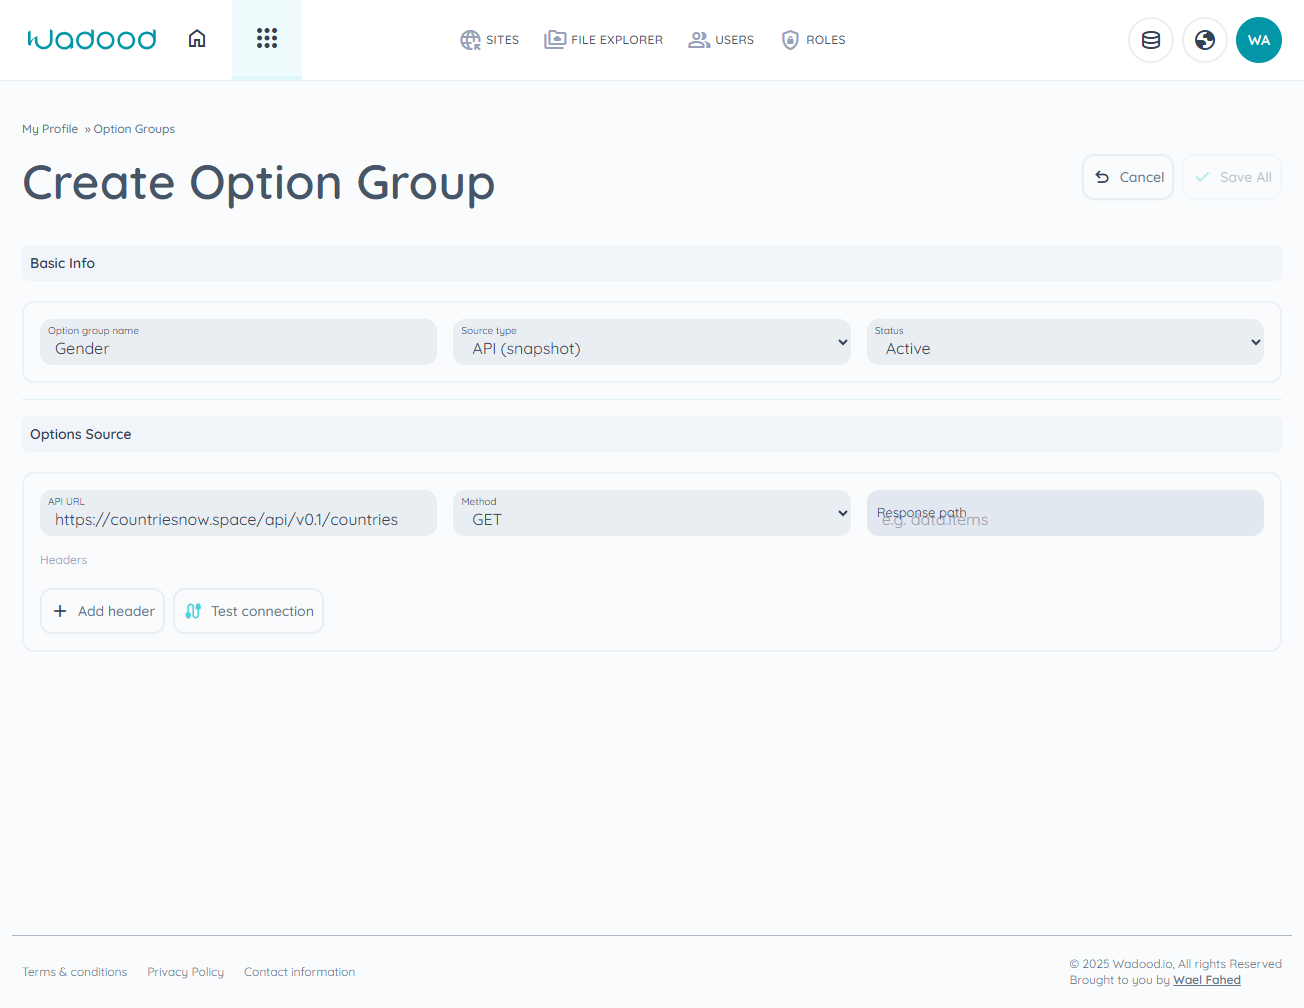
Both API modes share the same setup:
- API URL — the endpoint to call.
- Method — GET or POST.
- Response path (optional) — where the array lives in the response (e.g.
data.items). Leave blank if the response is already an array at the top level. - Headers — add any request headers (Key + Value). Tick Private for secrets (API keys/tokens); private values are encrypted at rest and hidden after saving.
- Test connection — calls the API. On success, the Select items to include dialog opens.
The "Select items to include" dialog
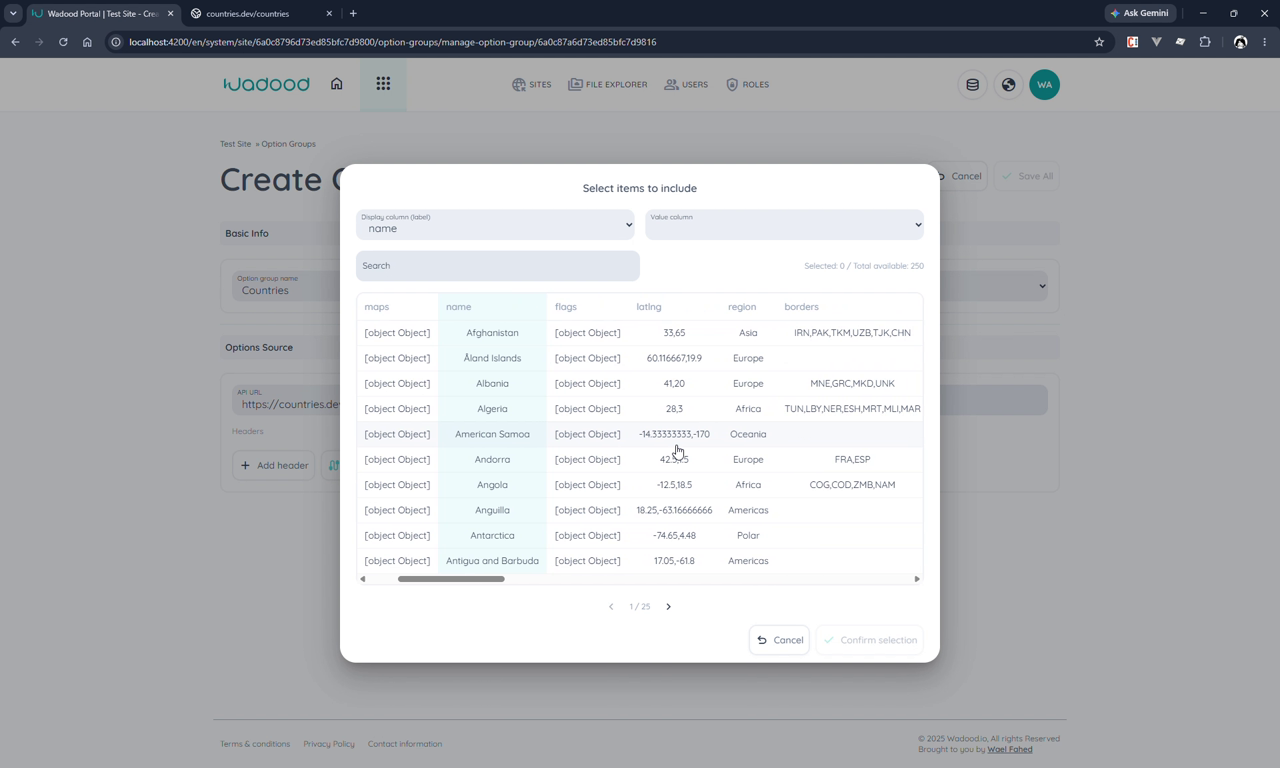
This dialog shows the records the API returned:
- Choose the Display column (label) and the Value column from the response keys (e.g. label =
name, value =alpha3code). - Search to filter, and select the rows you want — individually, or select all (e.g. all 250 results). You can unselect all too.
- Click Confirm selection.
The chosen rows then appear in the Preview table on the form.
4.5 Column mapping & preview (Excel / API)
For Excel and API sources, after data is loaded you map Display column (label) and Value column, and a Preview table shows the first few resulting rows so you can confirm the mapping.
4.6 Save
Click Save All. The new group appears in the list with its total options and source type.
5. Snapshot vs. live — which API mode?
| API (snapshot) | API (live) | |
|---|---|---|
| When data is fetched | Once, now (during setup) | Every time the field is shown to a visitor |
| What's stored | The hand‑picked options you confirmed | Nothing — options aren't stored |
| Best for | Lists that rarely change (countries, currencies) | Lists that change often and must always be current |
The live‑mode hint in the form says it plainly: "Live mode does not store the options. They will be fetched from the API at runtime; the column mapping below is used for preview only."
6. Editing & deleting
Use the edit/delete actions in the list. Deleted groups move to the Deleted tab and can be restored, consistent with the rest of the portal.
7. Tips & common pitfalls
- Label vs. Value: the Label is what the form user reads; the Value is what's submitted/stored. They can differ (e.g. label "Jordan", value "JOR").
- Response path only when nested: if your API returns the array at the top level, leave Response path empty; only set it when the records are nested (e.g.
data.items). - Mark secret headers Private so API keys are encrypted rather than stored in plain text.
- Snapshot for stable lists, live for volatile ones — live mode re‑calls the API on every use, which is heavier but always current.
- Excel/CSV files must have a header row; you map two of its columns to label/value.
8. Known issues
- Saving an API‑snapshot group can surface a "response path" error. Saving an API (snapshot) group may produce an "API config response path is not allowed" error even with the items selected. If you hit it, it's a known rough edge in the save step rather than a mistake in your setup.